NATURAL LIGHT STUDIOS FOR BEGINNER LEVEL PHOTOGRAPHERS
Hey there aspiring photographers! Are you a little unsure where to start with using a photography studio? Scared of using strobes? Don’t have a professional camera? No worries! In this blog, we're going to cover some key points using a natural light photography studio (selfishly based on our one…) to capture stunning photos, whether you are building up a photography portfolio or taking images for your brand’s website. Whether you have a professional camera or simply your trusty smartphone, we've got you covered. So, let's get started!
Natural Light Studios
First things first, you need to find a natural light photography studio that suits your needs (we have one of those). Natural light studios require either large (or a lot of) windows that allow a good amount of sunlight to filter through. To help with lighting, our studio is painted white from floor to ceiling, which really helps the light bounce around - and makes it really easy to get flattering light on your model anywhere in the studio. Typically you’ll want to avoid direct sunlight as it can create unflattering lighting on your model, but in some scenarios you might actually want that more contrasty look. For the majority of the day the sun is above the building meaning that you get lovely soft light coming through the windows. As the sun sets, that’s when you’ll be able to get the more dynamic direct sunlight, along with a golden hour feel.
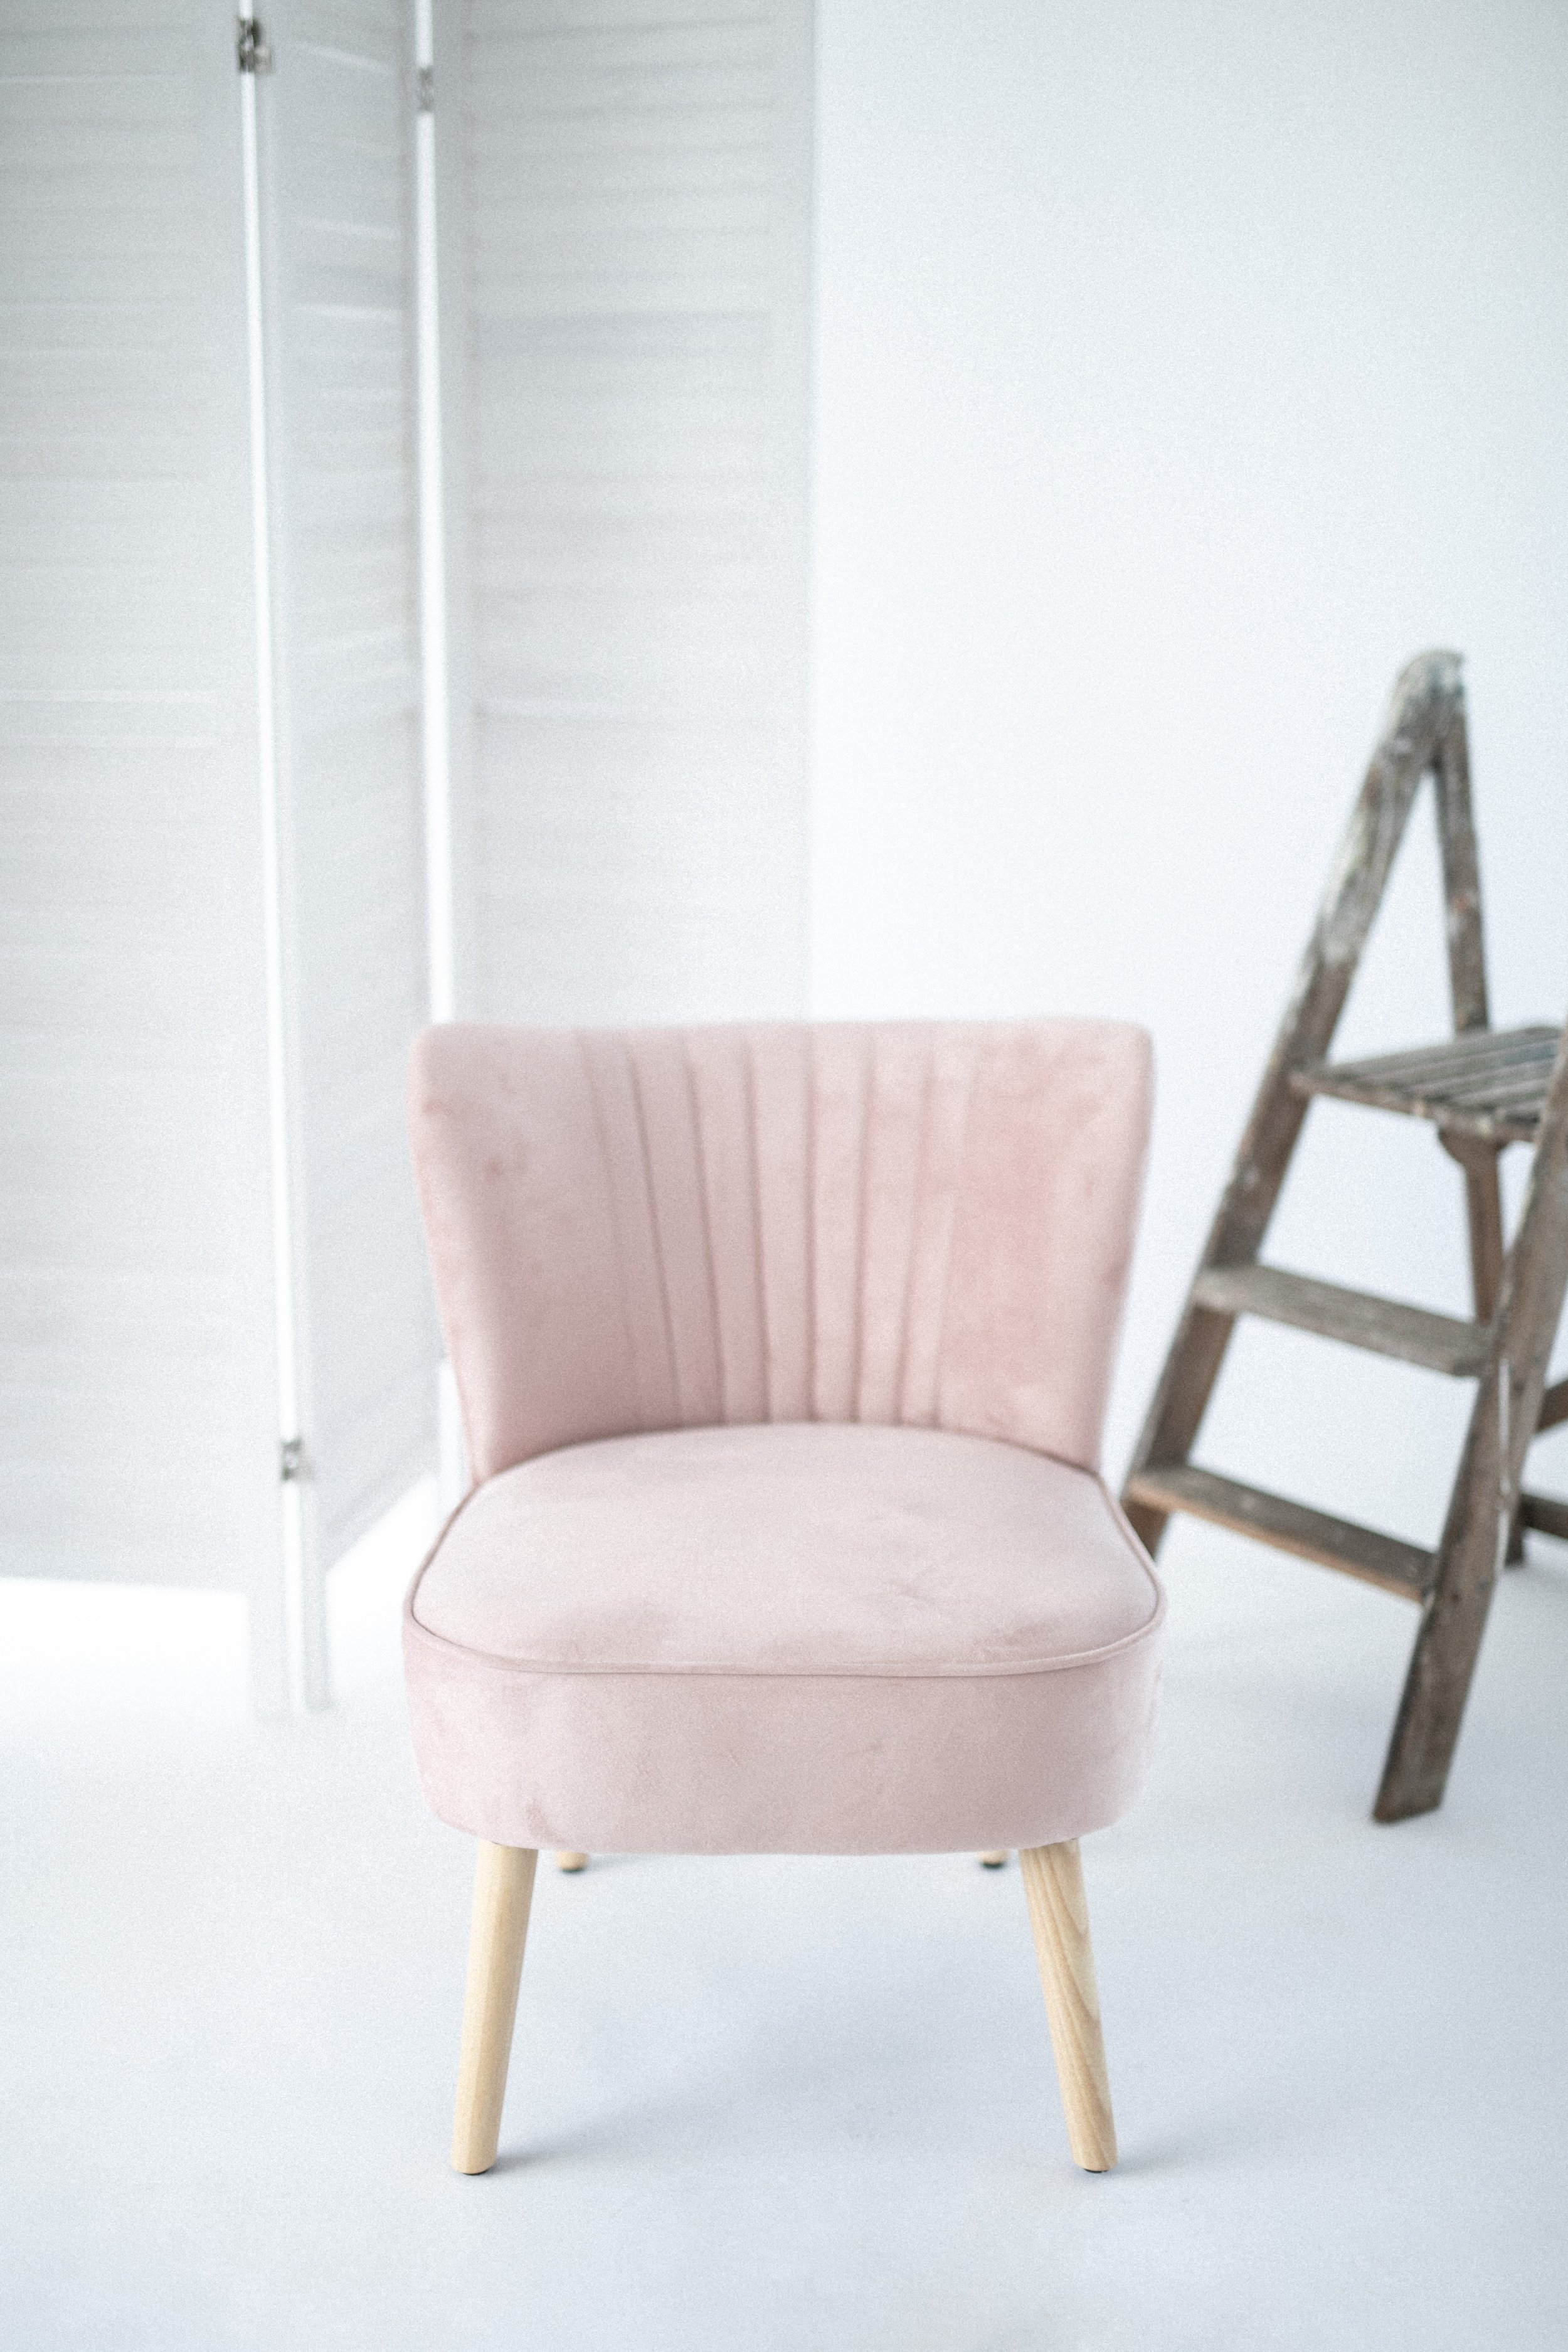
Set building props
Setting the Scene
Now that you have your studio, it's time to create your set. Choose a simple, plain backdrop, utilise the studio's existing elements or build yourself a set using props and furniture to create the look that you want. Keeping it minimalistic on a plain backdrop will keep the model as the focal point of the image (which is standard for e-commerce), whereas experimenting with different props, fabrics and textures can add an artistic touch to your portraits and start defining your personal/brand style. You’ll also want to consider wardrobe, as this will also have an impact on the overall feel of the image. Find inspiration on apps like Instagram and Pinterest to get an idea of what you want your images to look like. Creating mood boards can be super helpful as well.
Using a DSLR/Mirrorless Camera
If you're lucky enough to have a DSLR camera, it's time to put it to good use! Set your camera to aperture priority mode (Av) or manual mode (M) to have full control over the depth of field. Choose a wide aperture (lower number) to create a shallow depth of field, making your subject stand out against a blurred background - although this is less important if you are shooting on a plain backdrop for which you’ll likely prefer a less wide aperture to make sure you have defined edges on your model. Don't forget to adjust the ISO and white balance settings according to the available lighting conditions (generally the Daylight white balance setting will be the correct one).
Smartphone Photography
Don't fret if you don't have a fancy camera! Smartphones these days are equipped with powerful cameras that can produce really impressive results. The beauty of natural light is that what you see with your eyeballs is the same as what the camera will see in terms of lighting, so position your subject where the light looks best and start snapping away. Tap on the screen to focus on the face and adjust the exposure if needed. Experiment with your phone’s portrait mode or use third-party apps to enhance the depth of field effect if that’s the look you are going for. Experiment with different editing apps to refine your images and add a personal touch.

Golden hour shot in the studio
Composition and Posing
Now comes the fun part; directing your model and composing that perfect shot. Hiring a full-time model is hugely beneficial as they know exactly what they are doing and need fairly minimal direction once they know the brief, but you can still get amazing images of your pals if you’re on a budget. Experiment with different angles and perspectives to add variety to your images. Try both close-ups and wider shots to capture different moods and draw the viewer’s focus on your products. Again, look at other photographers’ work for inspiration and create a mood board - these can be really helpful to share with models prior to the shoot so they can come prepared.
Experiment with Natural Light
One of the fun aspects of natural light photography is its ever-changing nature. Throughout the day, the intensity and colour of sunlight can shift, creating opportunities for variation in your images. If it’s cloudy day…don’t worry! There is still plenty of light available and in actual fact it means that your lighting will be a little more consistent and soft throughout the day.
Conclusion
So now you’re ready to take the plunge and book your slot at the studio! Remember, practice makes progress, and you will learn with every shoot that you do. The important thing is to keep at it and experiment to hone your skills. Whether you're using a professional camera or your smartphone, a natural light photography studio provides an excellent setting for creating stunning portraits. So, grab your gear, book the studio, and let your creativity flow!
Good luck with whatever your photography related endeavour is, and we look forward to seeing you if you think our studio is a good fit for you!
